ペットボトル式 水耕栽培器 4号の作り方
水耕栽培用のペットボトルの4号を作ります。 (`・ω・´)
これは初めて作ったペットボトル式の水耕栽培器です。
あまり大きくならない野菜を育てている時は気が付かなかったのですが、
ミニトマトを育てているときに、あれ?これはダメかもという事がありました。
根の部分が混みあって、下まで伸びず腐ってしまった事です。
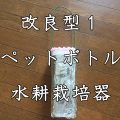
そこでペットボトル式の改良型を制作してみました。(改良型1と改良型2)です。
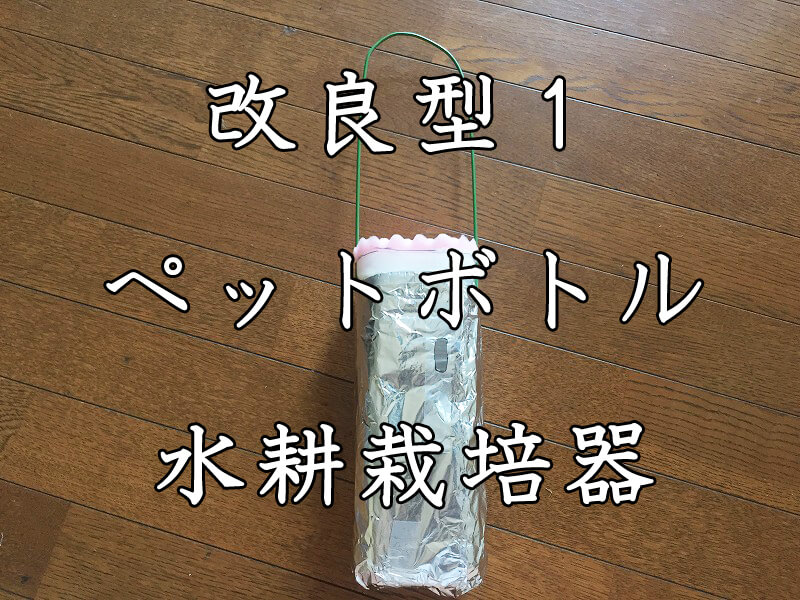
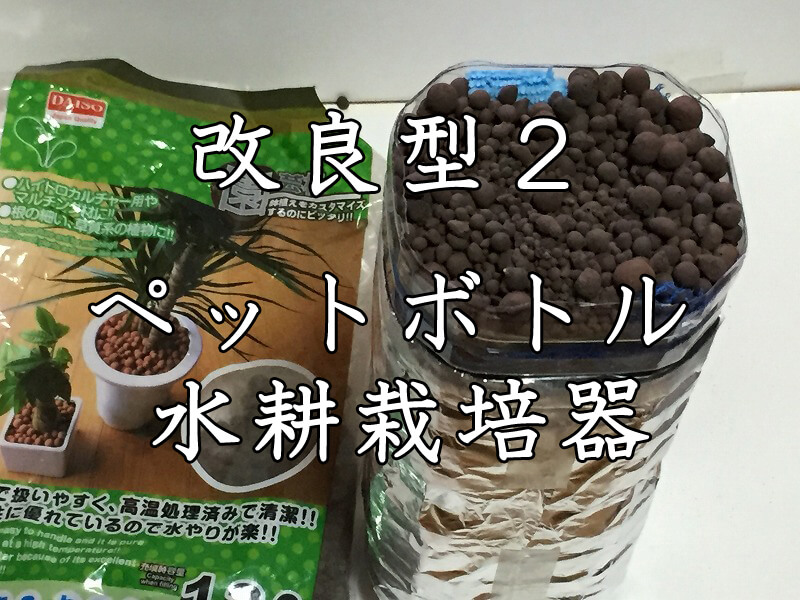
でも、改良型1、2、を使っているうちにまだ改良の余地があるなと・・(;´・ω・)
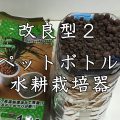
そこで、試行錯誤した結果出来たのが、この改良型4号です。
その成果は(`・ω・´)
改良型1,2と栽培比較した結果、
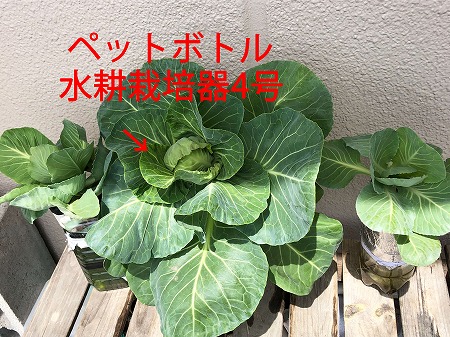
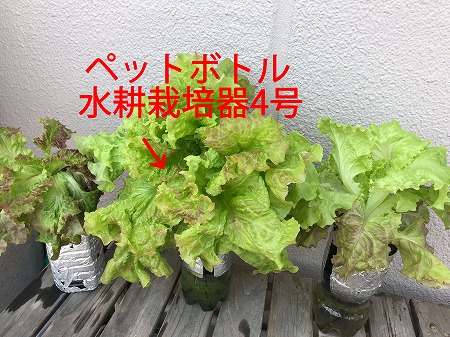
きっと、程よい保水性と空気層出来て、それが野菜の成長に良かったのかなと、
ポンプ式水耕栽培器と比較しても、成長が良いくらいです。
では、ペットボトル水耕栽培器4号の作り方を紹介します。
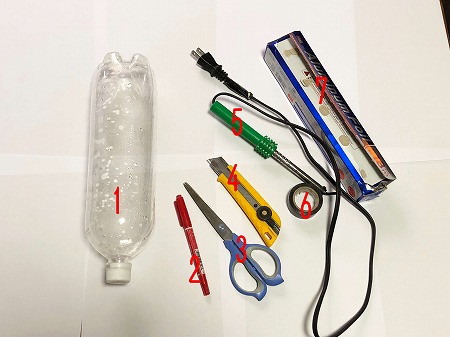
準備した物は、
1.ペットボトル(ファンタのような途中でくびれてない容器)
2.油性.ペン(目印用。色はお好みで)
3.はさみ
4.カッター
5.半田ごて
6.ビニールテープ
7.アルミホイル
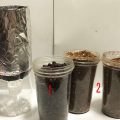
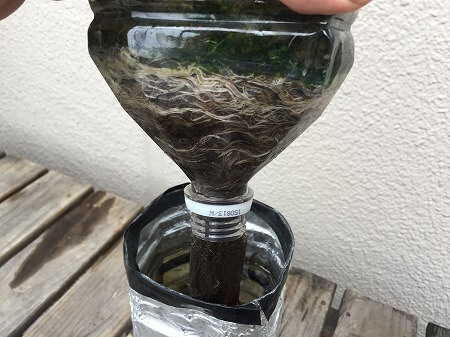
ペットボトルの中に入れる材料として、
8.ハイドロボール
9.パームピートとバーミキュライトの混合(混合率7:3)
を用意しました。(`・ω・´)
まず初めに、
ペットボトルはファンタの容器のような途中でくびれている物は不向きなので避けた方が良いです。
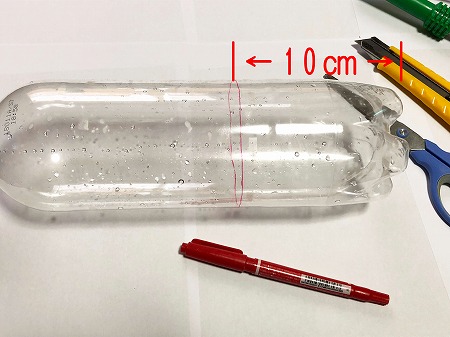
油性ペンで切る個所に線を引きます。
目印の場所は、1.5ℓの容器では底から10㎝の場所に線を引きます。
線を引いたらカッターで一刺して切り込みを入れ、その部分にはさみを入れて切って行きます。(^◇^)
(カッターだけで切るの止めた方がいいです。危険ですしうまく切れませんでした。)
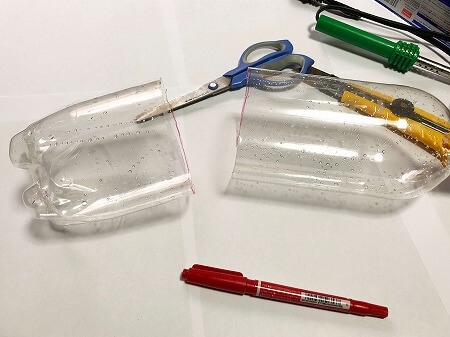
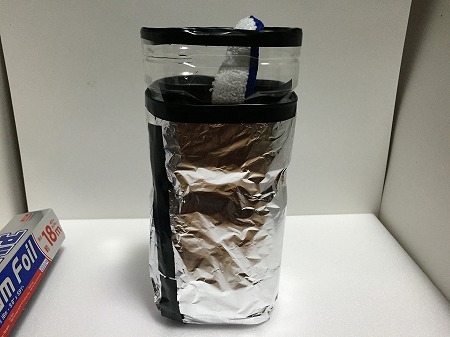
半分に切り終えました。

次に、半田ごてを用意します。(半田ごては100均で売っていました)
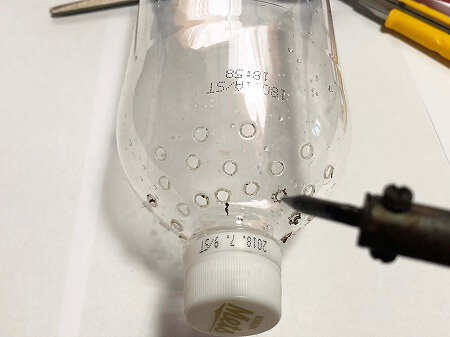
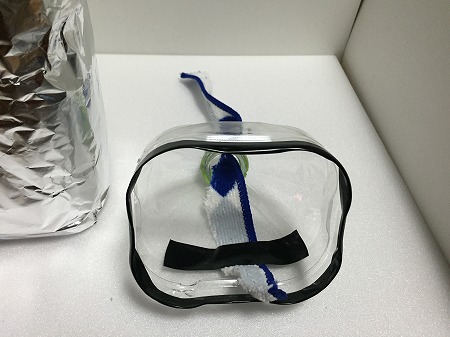
開ける穴の位置はなるべく下の位置で三列くらい、(一列10穴で計30穴くらい開けました。)
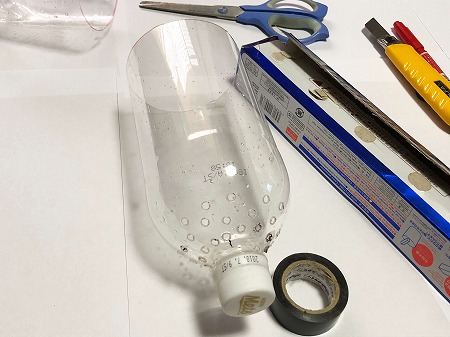
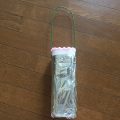
次はアルミホイルでペットボトルを包みます。
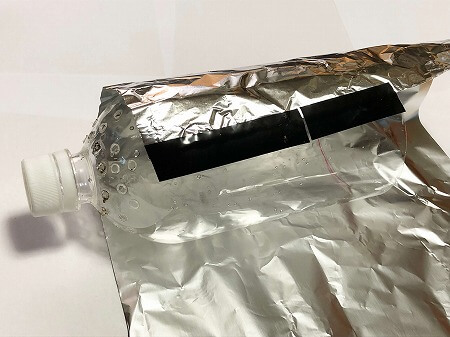
起点になる場所にアルミホイルをビニールテープで貼り止めます
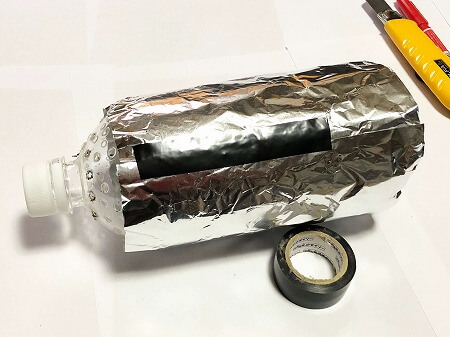
そしてアルミホイルをぐるっと一周して貼り止めます。


理由")

水耕栽培編")