Bucket hydroponic culture
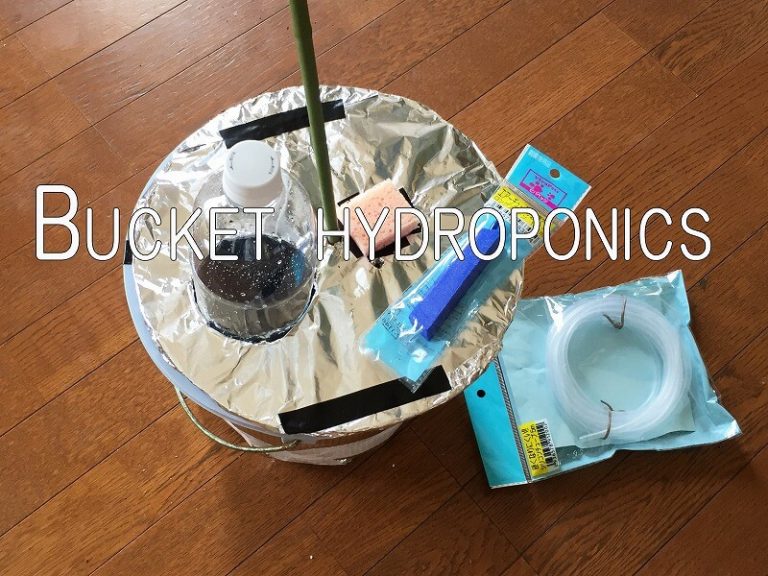
It is hydroponic cultivation using a bucket.
It was easier to handle than the one using planter and the harvest was more than plastic bottle hydroponic culture. (* ^ ▽ ^ *)
What you prepared
★ Bucket (The size was easy to handle from 10 l to 15 l)
★ Wire ★ Sponge ★ Color board ★ Oil-based pen ★
★ Handagot ★ Support for vegetables (All are sold at One Dollar shop etc.)
★ Aluminum sheet (sold as a cold storage item at One Dollar shop etc.)
★ Air Stone and Tube
★ Air pump
★ Plock (sold to home center)
★ Strut
Cautions
★ We put the water of the fertilizer frequently, so we made it from durable foam to durable color board.
★ I had a hard time cutting the color board. (Don't have trouble even with handicap)
★ Put a hole through the column as much as possible in the center of the bucket.
Future Improvements
★ Improved fertilizer water plastic bottles as the consumption of fertilizer water is intense.
★ If the vegetables grow too much, the pillars become unstable
(※Japanese is translated into English by translation software. I am sorry if it is strange English.)
Create a bucket hydroponic box
Make a hydroponic culture box using a bucket. (`・ω・´) 
What you have prepared is
1. Vegetable props (This is sold at One Dollar shop etc. The length varies depending on the growing vegetables.)
2.Concrete block (I bought it at the home improvement center. If it sinks in water and has a sense of stability, it is safe to substitute it.)
※ Since the plastic bottle is put on the block, the size of the block chooses the size which is about 5-10 cm above when it is put in the bucket. .
3. Air tube (It is a tube which sends air by connecting to air stone.)
4. Air Stone (from here to send oxygen to vegetables.)
5. Plastic bottle (preserve fertilizer water in this plastic bottle)
6. Color board (Purchased at One Dollar shop.)
7. Wire (I used to fix the column and block.)
8. Oil-based pen (used for marking. Color is optional)
9. Sponge (Put in and put vegetables in here.)
10. Aluminum sheet (cover the bucket with the aluminum sheet to prevent the occurrence of moss in the bucket)
11. Soldering iron (Used for drilling holes in the color board. When using, please be aware of fire and use at your own risk.)
12. Pliers (used to cut and fix the wire)
13. Vinyl tape (I used to cover the color board with aluminum foil)
14. Aluminum foil (covered with aluminum foil to prevent sunlight from entering the bucket from the color board)
15. Bucket (This time I used a 10-liter size. Use different size depending on the growing vegetables.)
A separate air pump is also required.
Prepared. (`・ω・´)
First of all,

Turn the bucket upside down on the color board, and swipe around the mouth of the bucket with an oil pen.

Similarly like this, follow the line of the mouth of the bucket with an oil pen.
(Because this is the lid, I drew a line with a little extra space.)
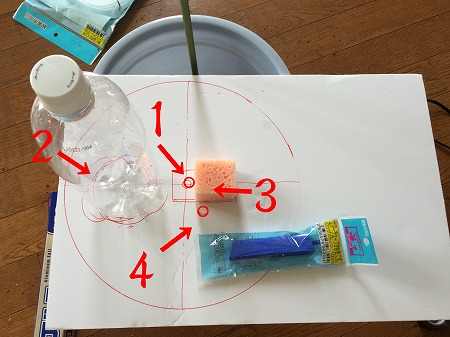
Next, mark the place where you want to make a hole with an oil-based pen. (4 places)
The part 1 is a hole that passes through the pillars. Draw vertical lines vertically and horizontally and mark the center of the circle.
The two holes are holes for putting the fertilizer water plastic bottle. Place a plastic bottle and draw a line around it.
(Because the plastic bottle is placed on the post block, the 2 holes are also made closer to the center.)
The location of3 will be opened right next to the hole for support. In the image it is under the place where the sponge is placed. Draw a square line slightly smaller than the sponge shape.
The 4 holes are the air tube holes. (Open as far from the center as possible.)
※ The point here is that if you do not open one hole in the center, the lid will not close well when completed ( Future Improvements .

At this time, make holes in the fertilizer water plastic bottle as shown in the picture.
(It will be replenished automatically when there is no fertilizer water below this hole)

Next, attach the support to the block with wire.
(The wire and column were wound up one turn and then attached to the block. If you do not attach this firmly, it will lose its sense of stability)

With this bucket, blocks and posts are placed in the bucket like this.
(The plastic bottle is put on the block.)

The color board is melted and cut with solder gide, and 1 to 4 holes are drilled and attached.
It looks like this.

Cover the aluminum wheel and cover the bucket with aluminum sheet.

This completes the hydroponics box for the bucket.
When using, set air stone in the bucket and fill the bucket with fertilizer water.
And put the fertilizer water in the plastic bottle, close the cap, put it on the block and send the air by air pump.

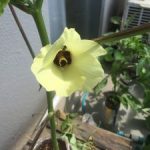
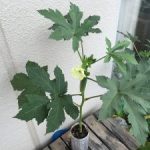
I used it for hydroponics of eggplant. Plastic bottle is growing more than hydroponic culture.
The management method is like feeding when the fertilizer water in the plastic bottle is lost.
Related posts:
No related posts.
