Planter hydroponic culture
A box for hydroponics using a planter.
I thought that I could not use it for hydroponic cultivation with the original thing, and I made it using a planter. (*^▽^*)
What you prepared
★ Planter (This time I made it with a large planter.)
★ silicone repair agent ★ epoxy putty ★ aluminum sheet ★ foam polystyrene board ★ block ★ plastic bottle ★ straw ★ aluminum foil
★ Handagot ★ Sponge
★ Bleaching agent ★ Epoxy adhesive ★ Oil-based pen ★ Gum tape ★ Vinyl tape
(All except blocks are sold at One Dollar shop etc.)
★ Air Stone and Tube
★ You also need an air pump separately.
Cautions
★ I cut a little larger Styrofoam lid for planter.
★ Be careful not to place the end of the block where you put the plastic bottle.
Future Improvements
★ How to replenish fertilizer water (There were days when there were not enough spare PET bottles)
★ Improved struts (vegetables need to be firmly fixed as they grow large, so you need strong struts)
Use of planter Making hydroponic culture box
Make a hydroponic culture box using a planter. (`・ω・´) 
The things you prepared are
1. Silicone repair material (It was placed in the cleaning corner in the One Dollar shop.)
2. Epoxy pate (for reinforcing the leak of hype etc. It was also put in the One Dollar shop.)
3. Aluminum sheet (In the One Dollar shop was put for the warmth such as bath.)
4. Styrofoam board (This was also purchased at One Dollar shop.)
5. Planter (I used a large planter this time.)
6. Concrete block
(I bought it at the home improvement center. If it's sunk in the water and there is a sense of stability, it is safe to substitute it.)
※ Because the plastic bottle is put on the block, the size of the block chooses the size which the space of about 5-10 cm is open when put in the planter.
7. Plastic bottle (put fertilizer water into this plastic bottle and check the reduction of fertilizer water)
8. Straw (It was used to fix the lid of foam polystyrene board.)
9. Aluminum foil (It was finally used to cover the lid of the polystyrene foam board.)
10. Soldering iron (It was used to process the foam board. When using it, please be aware of fire and use at your own risk.)
11. Sponge (Put the cut and put the vegetables there.)
12. Bleach (Used for disinfecting planters with chlorinated products.)
13. Epoxy adhesive (used to bond foam polystyrene board)
14. Oil-based pen (used to mark)
15. Gum tape (It was used to cover the planter with aluminum sheet.)
16. Vinyl tape (used to cover the lid of foam board with aluminum foil)
17, (Air stone and air tube (which sends oxygen to vegetables from here)
A separate air pump is also required.
Prepared.(`・ω・´)
First of all,

I used a planter that I had left for a while.
Because it was dirty, first wash it with water (; ・ · ω ·)

I found that a hole was opened on the side of a sunoko that was laid on the bottom when dirt was removed ('ω').

The hole for drainage was opened like this.
(If it is closed here, it may be usable for hydroponic culture.(^◇^) )

When I was searching for something that would block a hole, I suddenly found something like a lid on the tip of the saw.
This is what originally came in order to close the drain. (^◇^)

I immediately saw it with the lid attached.
It fits perfectly. w

Because it is a planter for hydroponic culture, cover the hole with epoxy putty to prevent water leakage from the hole.
(The epoxy putty was placed in the One Dollar shop as a reinforcement for the hype.)

Is the epoxy putty dried and ticked and coated with a silicone repair agent to prevent water leaks? It is (^◇^)

In order to check if there is a water leak and to put water for planter disinfection together with bleach (chlorinated) input!

I saw it for about three hours.
It seems that there is no leak. (^^ ♪

Drain the water and cover the planter with an aluminum sheet.

It's like this.
(The reason the aluminum sheet covers it is to block sunlight and prevent the growth of moss in the planter.)
(Because the increase in moss causes fertilizer to be absorbed by the moss, which disturbs the balance of the fertilizer water.)

Next, make a planter lid with foam board.
Place a polystyrene foam board on top of the planter and measure the dimensions.
(Oh, the planter is big and a little short of w)

The length was insufficient, so I cut the other foam polystyrene board and stick it with epoxy adhesive.

It is the lid of the cut planter.

To fix the planter's lid, insert the cut straw into the hole for post originally attached
(※ If the lid of the planter is not firmly fixed, it will be blown away or broken by wind)

In this way, I opened a hole in the styrofoam lid and put a straw there and fixed it.

The straw is in the hole for support. Insert the polystyrene foam lid here.
Next, put a concrete block in the planter and place a plastic bottle on it.
I think the image from above is confusing, but the block is about 10 cm (from above) shorter than the planter.
Place a plastic bottle for checking the remaining amount with the bottom hole on it.
(The interior of the completed planter looks like this.)

Mark the position of the plastic bottle for checking the remaining amount and cut it out with a soldering iron.

It will look like this when you insert a plastic bottle. (^◇^)
Then mark the hole through which the air tube passes and the sponge hole into which you want to put the vegetables.

Boil the block for disinfection.

Put a hole in the bottom of the plastic bottle
(If the planter's fertilizer water decreases to the position of this hole in the plastic bottle, the amount of fertilizer water in the plastic bottle will begin to flow and you can see the remaining amount.)

I'm approaching completion.(*^▽^*)
Place the planter in Beranta and arrange the boiled blocks inside.
And the planter is full of fertilizer water ( > > How to make fertilizer water here )
I tried to put in air stone.

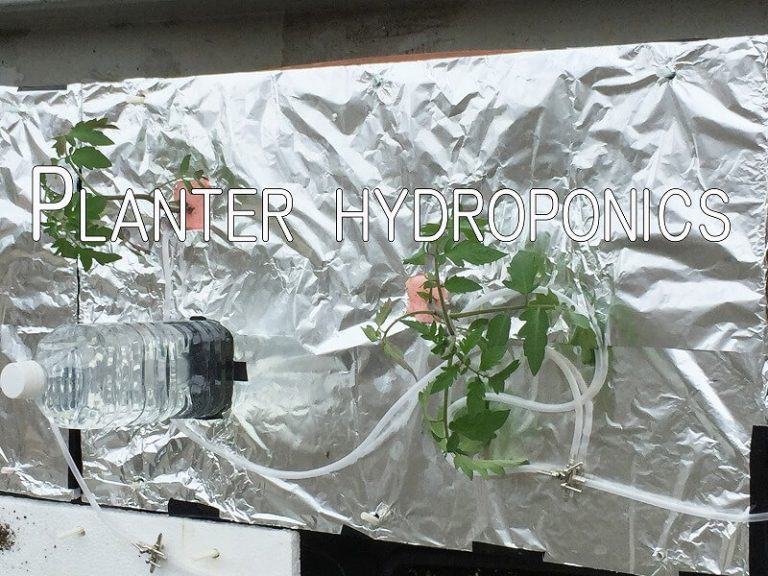
Cover the foam polystyrene lid with aluminum foil and insert the vegetables in a sponge through an air tube and set.
At this time, a plastic bottle for checking the remaining amount (put the fertilizer water into the plastic bottle and close the cap) is also completed.
(*^▽^*)

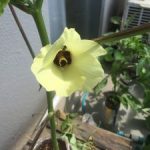
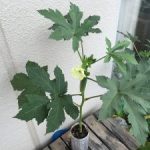
We grew surprisingly in a few weeks. (*^▽^*)
※ Depending on the vegetables to be grown, you need a strong support.
Related posts:
No related posts.
